Cleaning Your Hearing Aids: What You Need to Know
Hearing aids are a lifeline for people with hearing loss. Once you know it’s time to buy new hearing aids — or invest in your very first pair — one thing you may notice is how delicate (and sometimes expensive) hearing aids are. Properly cleaning your hearing aids can help them sound better and last longer. Given the sophisticated technology in hearing aids, the cleaning tools and solutions you use matter. Earwax and moisture buildup can cause significant damage over time, leading to symptoms like fading, choppy, or distorted sound.
Additionally, hearing aids can accumulate bacteria or excess wax, posing health risks such as irritation or infection. Regular cleaning is essential to maintain your hearing aids’ performance and your ear health. Alongside home maintenance, occasional professional cleanings by a licensed audiologist or hearing specialist are highly recommended.
Can I Use Alcohol Wipes to Clean my Hearing Aids?
First things first: resist the urge to grab those alcohol wipes! While they might seem like a quick fix for cleaning and disinfecting, they can damage your hearing aids. The harsh chemicals can make the plastic casing brittle, weaken microphones and receivers, and the moisture can seep into the delicate technology inside, potentially causing irreparable harm. Stick to cleaning tools and solutions specifically designed for hearing aids to keep them in tip-top shape.
Daily Cleaning and Care
Regular cleaning is essential to ensure the longevity and effectiveness of your hearing aids. Most devices come with a cleaning kit and specific instructions from the manufacturer, so start there to avoid any damage or voiding your warranty. Avoid using water or a damp cloth, as the technology inside your hearing aids is very delicate. Here’s a routine to follow:
- Wash your hands: Before handling your hearing aids, wash your hands with soap and water and dry them thoroughly.
- Brush: Gently brush the entire exterior surface of the device to remove earwax or debris from the microphone and receiver openings, battery compartment, and tubing (if applicable).
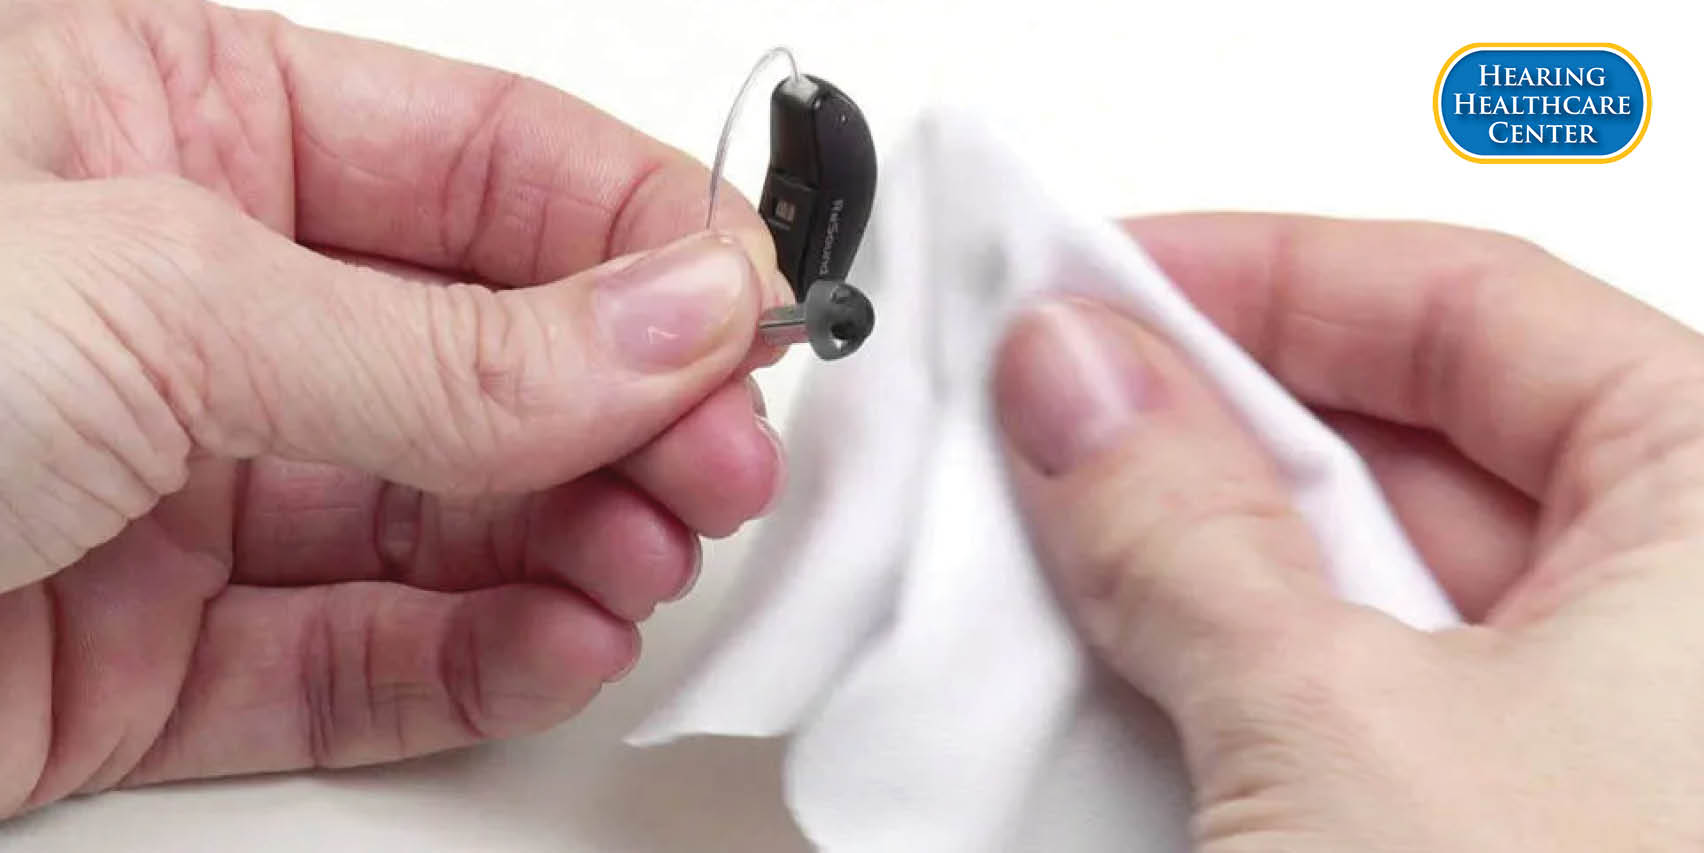
- Surface cleaning: Carefully wipe down the body of your hearing aid using a microfiber cloth.
- Dry overnight: Using a dehumidifier overnight is essential to removing moisture buildup that can accumulate during the day. If your device uses batteries, take them out and leave the compartment open while the hearing aid dries.
Best Tools for Cleaning Your Hearing Aids
If you don’t have a cleaning kit, it’s worth getting one. Essential tools include:
- Hearing-aid brush: A soft-bristled brush specifically designed to gently remove earwax, debris, and dirt from the exterior surfaces of your hearing aid, including the battery compartment, microphone openings, and receiver/speaker.
- Wax removal tools: The best way to remove earwax buildup from the nooks and crannies of your hearing aids without damaging them is with a wax pick, wax loop, or other specialized tool.
- Tubing wire cleaner: The cleaning tool often comes with your hearing aid. It will have a thin wire or threader on one end and a brush on the other, allowing you to gently remove earwax and debris in molds, for over-the-ear products.
- Microfiber cloth: Microfiber is a soft material that you can use to wipe the surface of your hearing aid after every use. This helps remove dust, oils, sweat, and other moisture without scratching the delicate components of your devices.
Cleaning Different Types of Hearing Aids
Different types of hearing aids need different cleaning methods. Here are tips for the main types:
in-the-ear (ITE) and behind-the-ear (BTE) hearing aids.
- Custom Hearing Aids
In-the-Ear ITE and Complete-in-Canal CIC
- Use a hearing-aid brush to clean the outer portion.
- Utilize a wax loop tool for stubborn wax.
- Use a tube cleaner for venting.
- Finish with a soft cloth and store the hearing aid in its case or a dehumidifier overnight.
- BTE Hearing Aids
Behind-the-Ear
- Start with a brush for the receiver and microphone cover.
- Use a wax loop for additional cleaning.
- Clean any additional microphones on the device.
- To clean ear molds, wipe them with a lightly dampened paper towel or cloth, thoroughly drying them afterward.
Always follow the manufacturer’s instructions. By following these tips, and using the right tools, you can keep your hearing aids clean, safe, and working great!
Here’s to better hearing and a brighter future for all!

